9. Settings (admins)
Setting up your company. Click “Settings” in the left menu; each subject is in the Settings menu on the left of the page, grouped into Organisation, Account and Connect. Most of these are for company admins.
On this page:
- Team
- Sign-in
- Directory sync (SCIM): staff from your identity provider
- Appearance
- Messages
- Web address
- Hiring policies
- Credits: pay per candidate
- Coupons on credit packs and automatic refunds
- Languages, quiet hours and dropped connections
- Candidate reports (skill reports for candidates)
- Privacy requests
- Data retention
- Support access
- Integrations
- API keys
- Usage
- Billing
- Audit log
- AI use
- Results in Greenhouse or Lever
Team
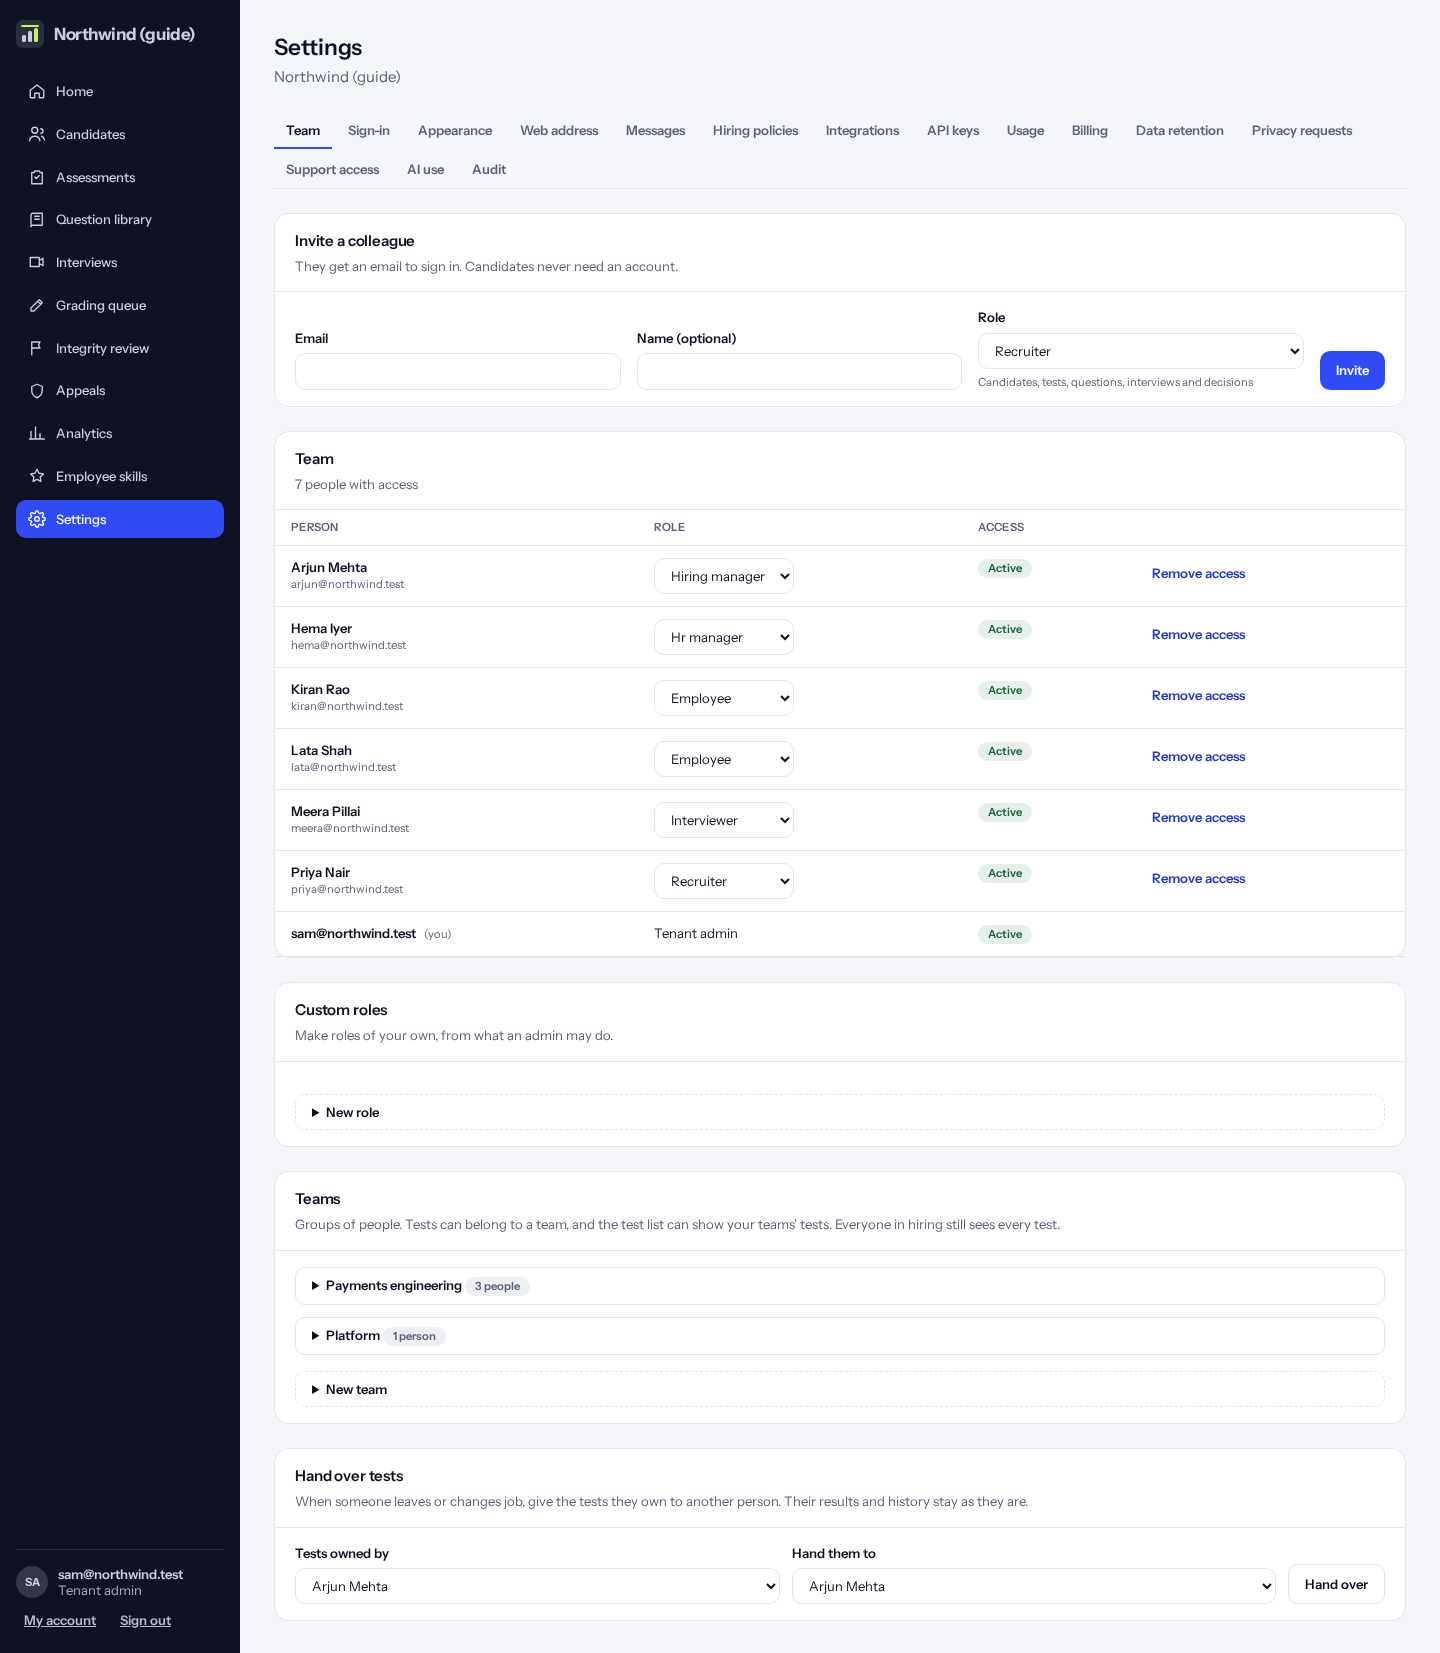
Invite colleagues with their email and a role; they get an email to join. Change someone’s role in the list, or click “Remove access”.
To invite many at once, open “Invite a list of colleagues”: paste one person a line (name, email) or choose a spreadsheet saved as CSV, pick one role for all of them, and click invite. Up to 50 at a time; people already on the team are skipped.
Below: make roles of your own (“Custom roles”), group people into teams, and hand a person’s tests over to someone else when they leave.
Sign-in
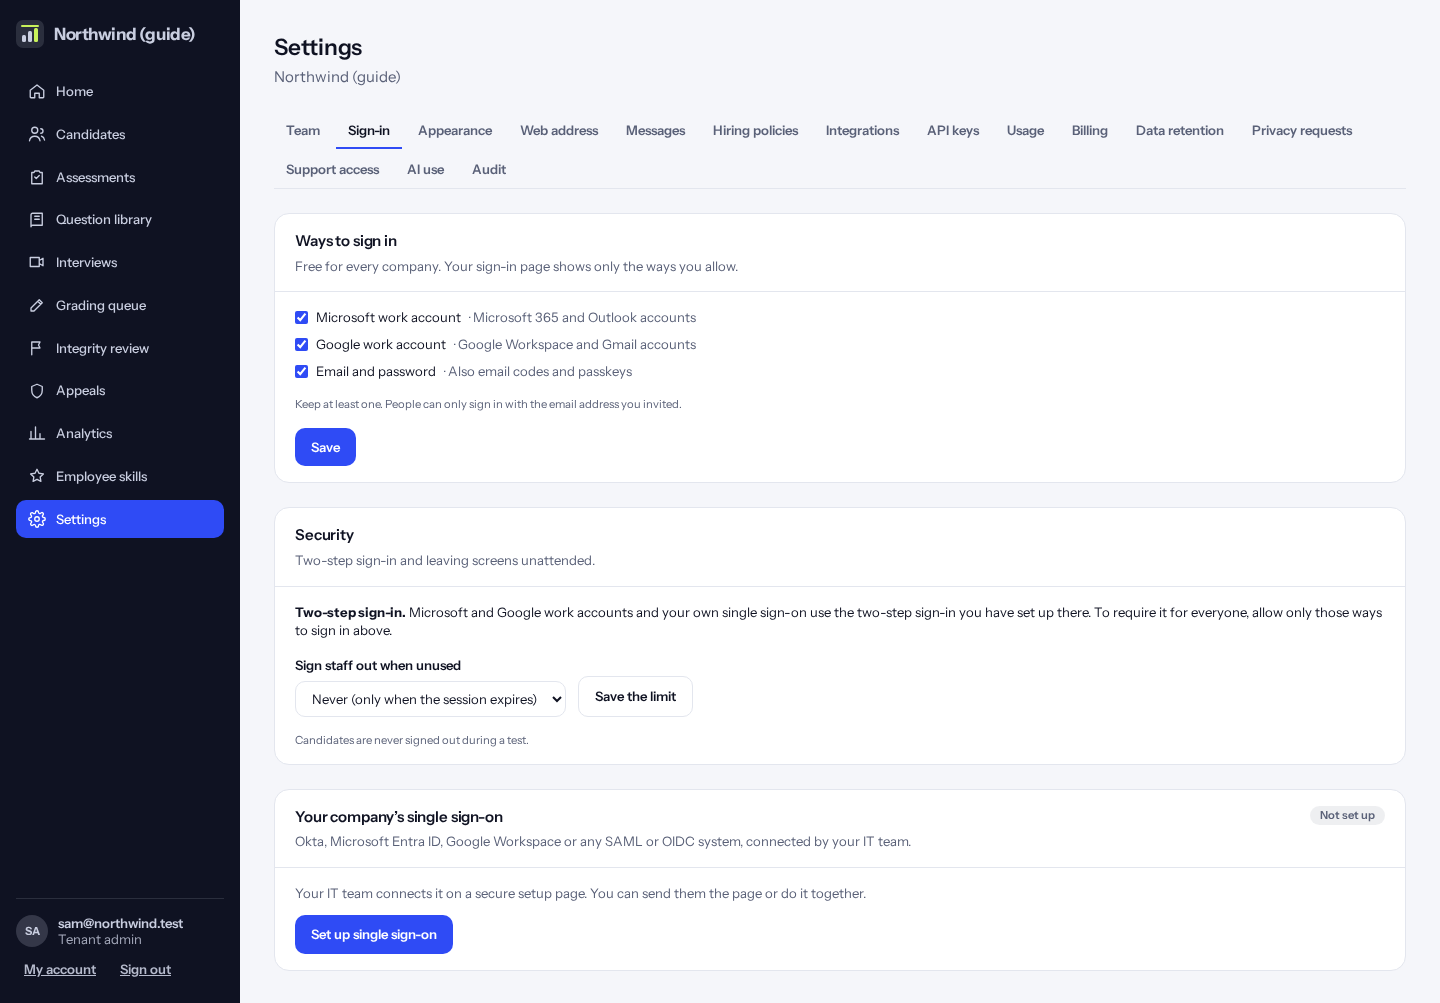
Tick the ways people may sign in: Microsoft, Google, or email (with password, codes or passkeys). Your sign-in page shows only these. Switching a way off also signs out, at once, anyone who signed in that way (you stay signed in).
Choose whether staff are signed out after a time without use. Candidates are never signed out during a test.
To use your company’s own single sign-on (Okta, Microsoft Entra ID, Google Workspace and others), click “Set up single sign-on” and your IT team completes it.
Directory sync (SCIM): staff from your identity provider
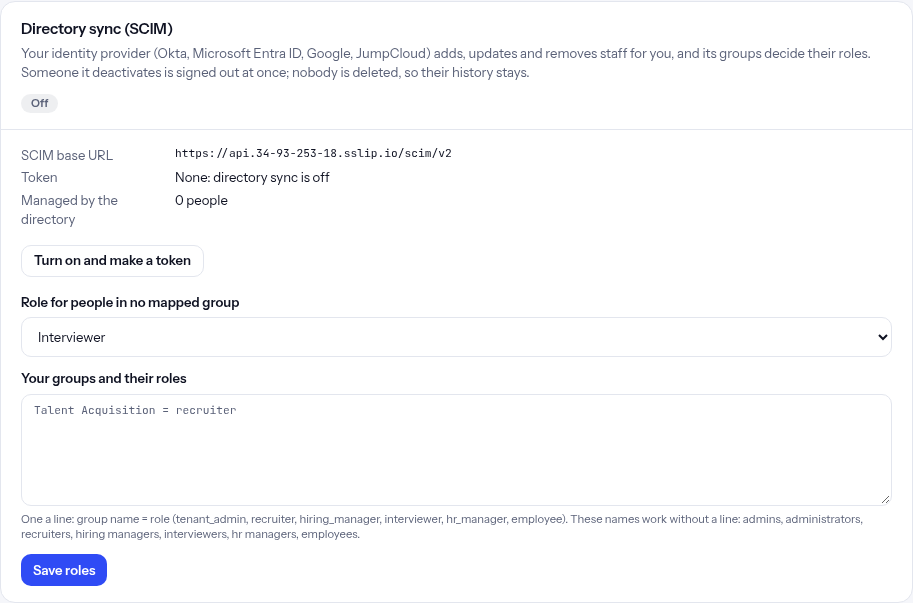
Under Settings → Sign-in, “Directory sync (SCIM)” lets your identity provider (Okta, Microsoft Entra ID, Google, JumpCloud) add, update and remove staff for you. Click “Turn on and make a token”, copy the token (it is shown once) and give it, with the SCIM base URL shown there, to your IT team for the provider’s SCIM app. “Make a new token” replaces the old one at once; “Turn off” stops the directory at once and leaves people as they are.
People the directory adds can sign in through your single sign-on. Someone it deactivates or removes is disabled and signed out at once; nobody is deleted, so their history stays. The directory can’t deactivate or demote your last active admin.
Roles come from groups: the strongest role among a person’s groups wins, and someone in no mapped group gets the default role you choose. Groups called Admins, Recruiters, Hiring managers, Interviewers, HR managers or Employees work as they are; map your own group names one a line, for example “Talent Acquisition = recruiter”. Saving the mapping gives everyone the directory manages their role again straight away.
Appearance
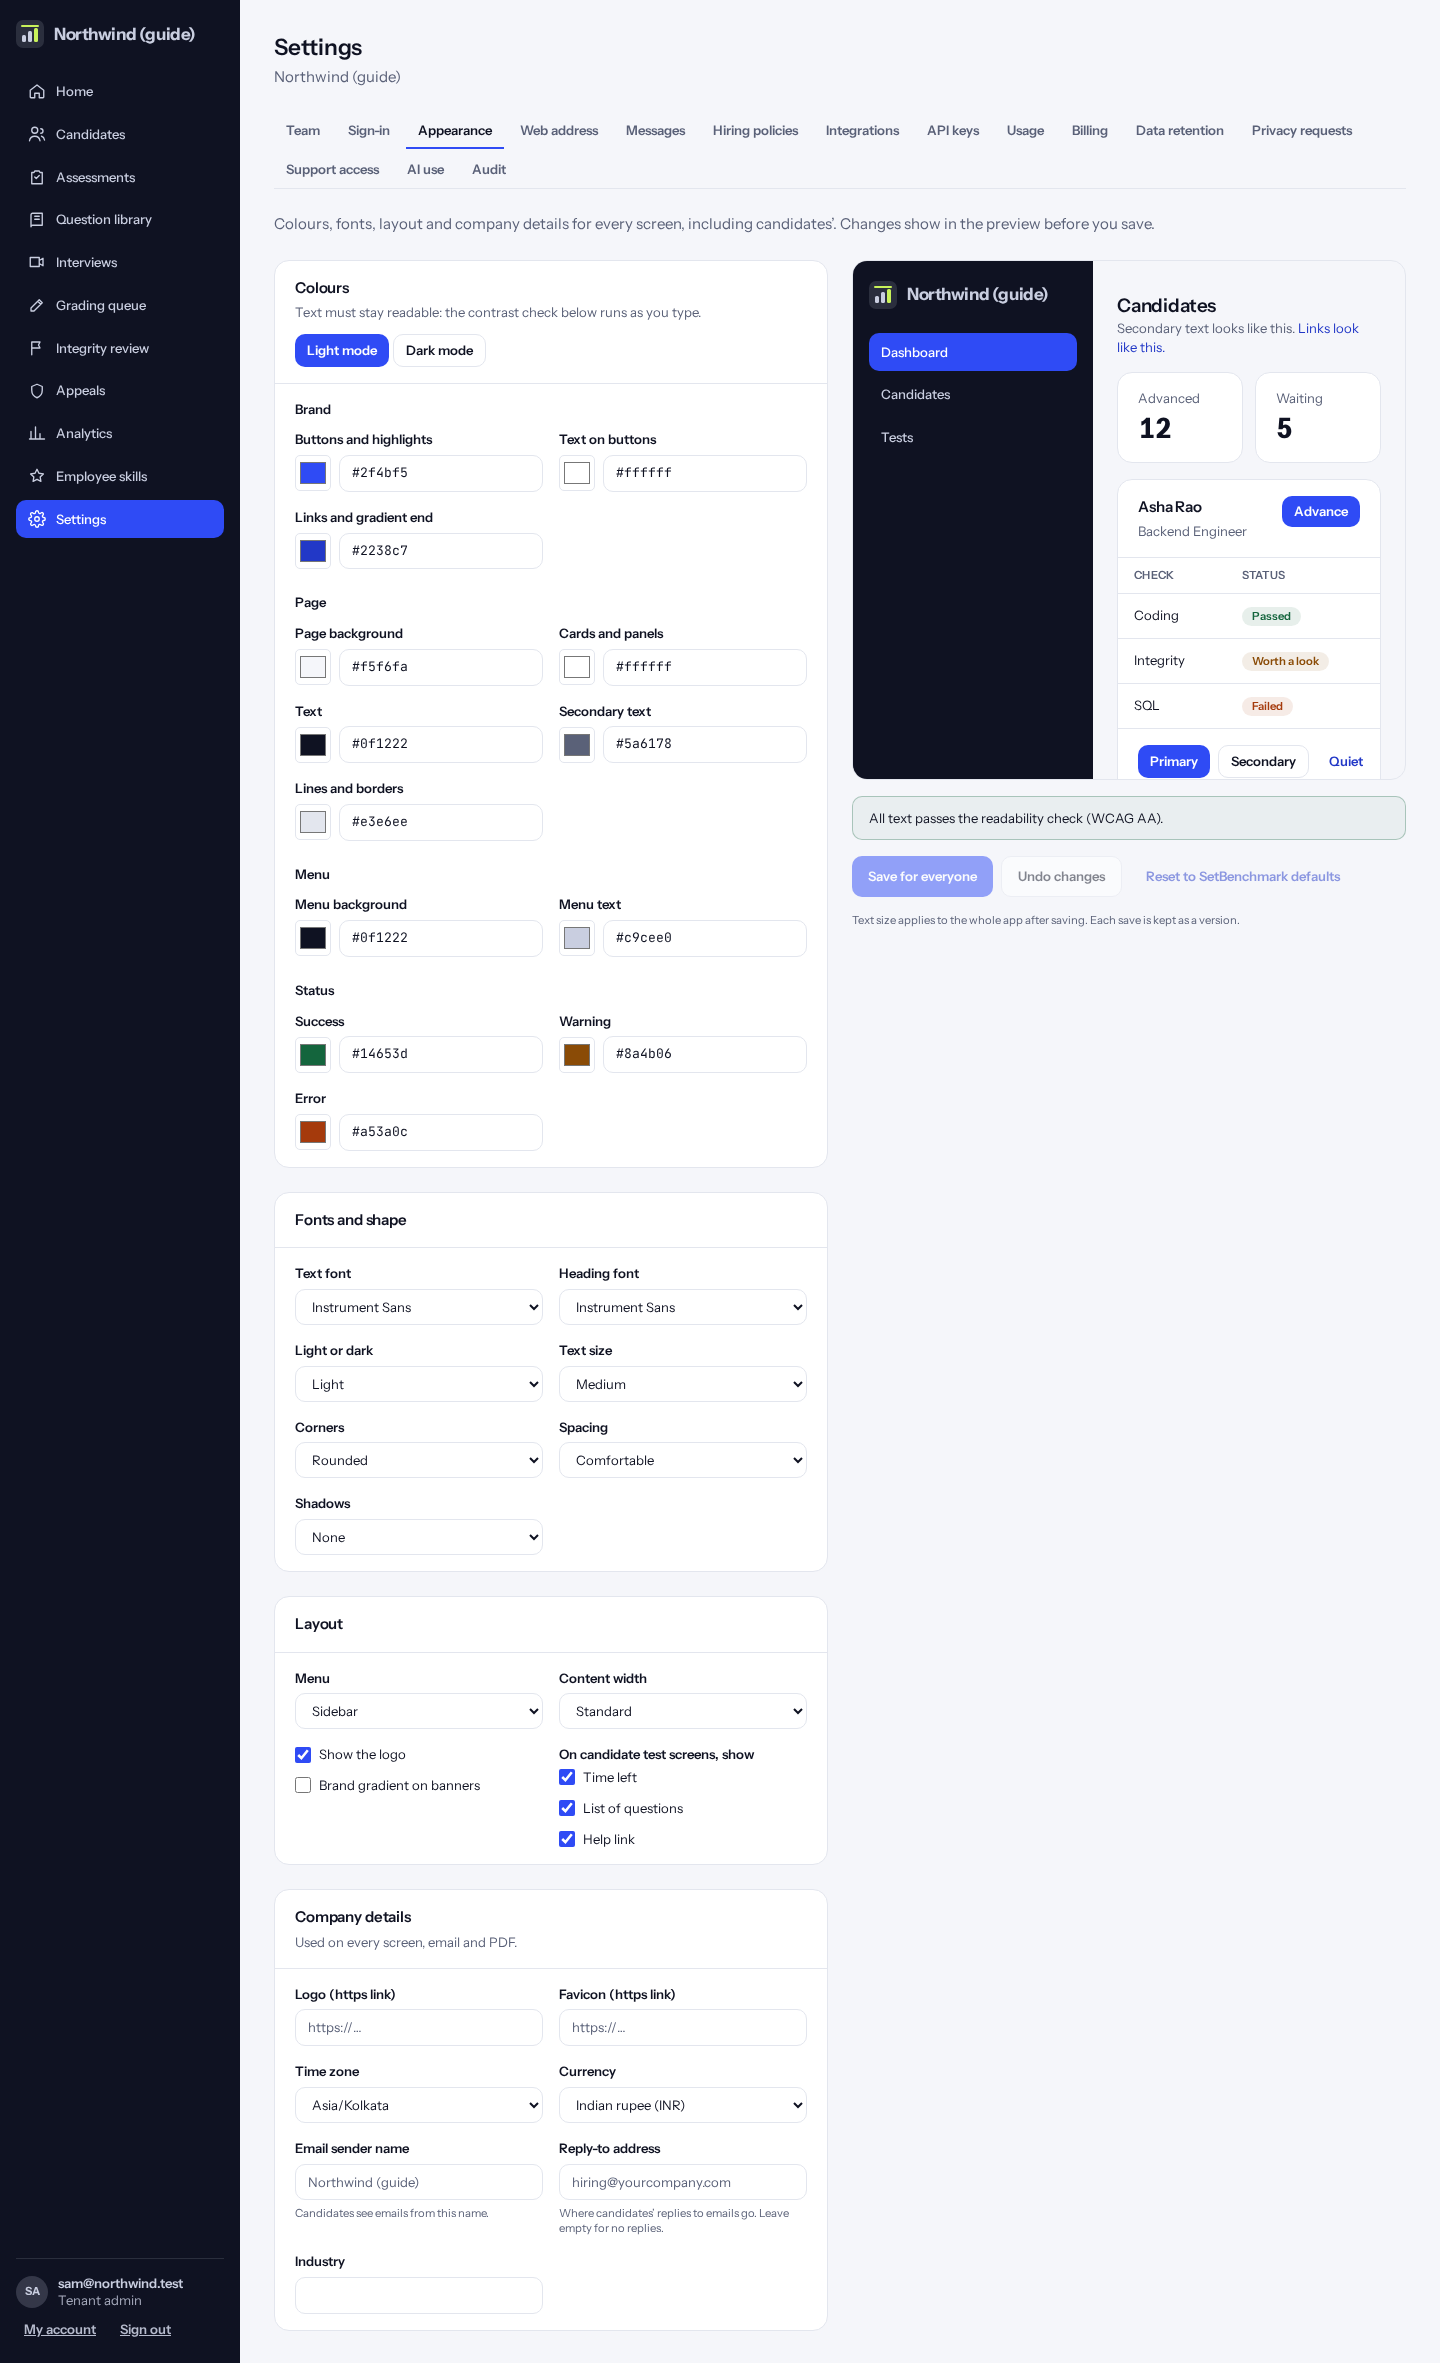
Your logo and colours, for staff and candidate screens. See the change before saving.
The same page sets how your emails look to candidates: the sender name, the reply-to address, and “Keep a copy of candidate emails”. With an address there, every email to a candidate is also sent, hidden, to that address for your records.
Messages
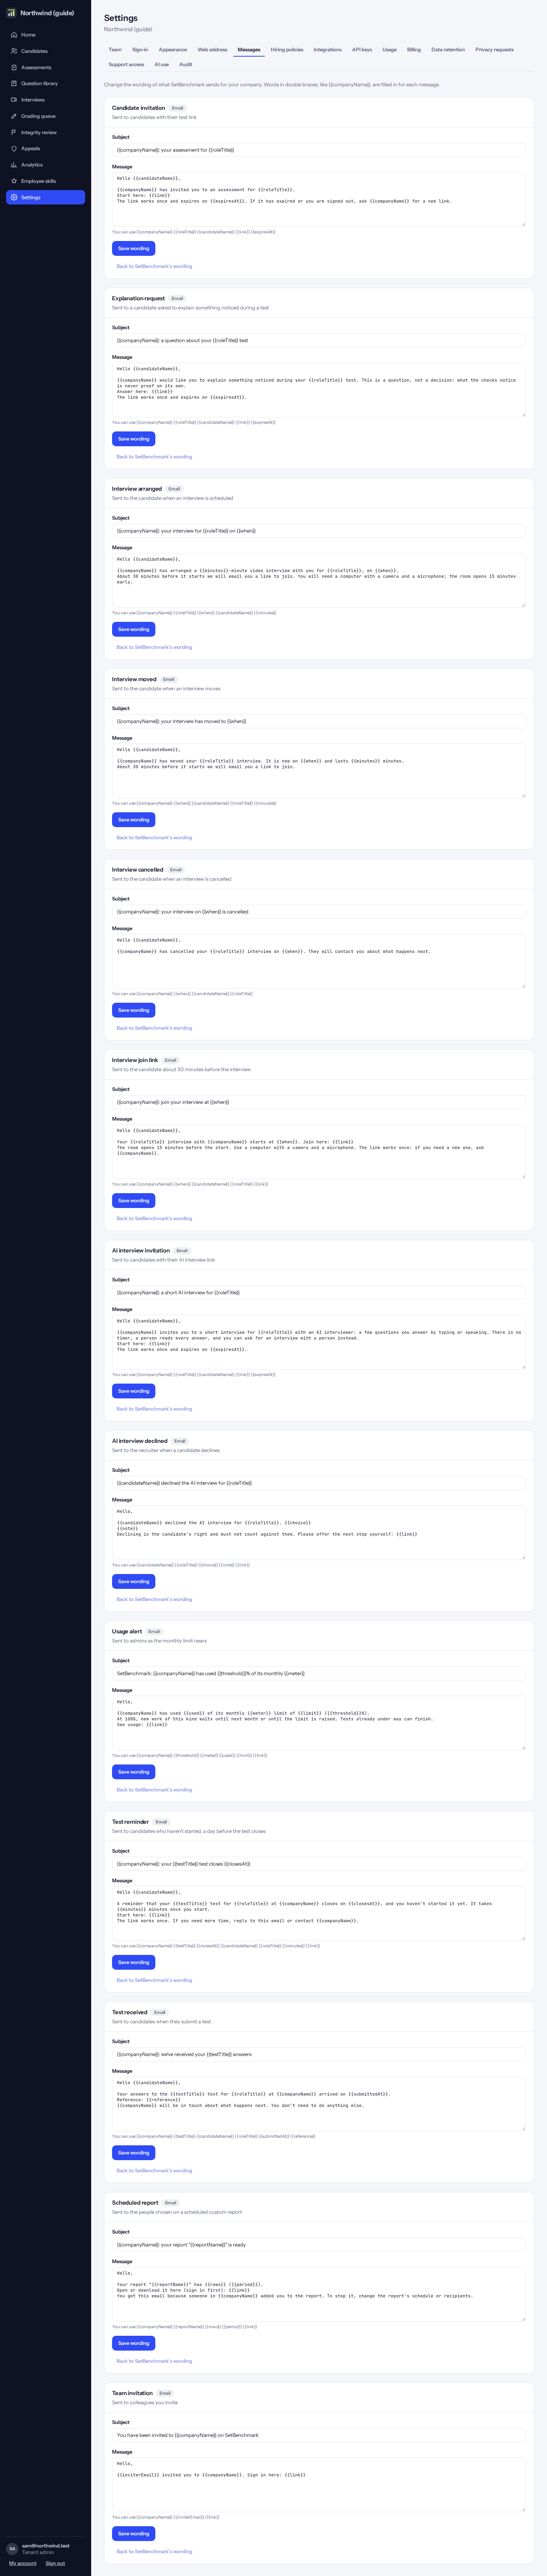
Change the wording of emails SetBenchmark sends, such as the candidate invitation. You can always go back to the original wording.
Every email carries your company’s name, logo and main colour from Appearance, with a button for its link. Write in plain text: a line that ends with {{link}} becomes the button. Click “Preview email” to see it with made-up details before you save.
Web address
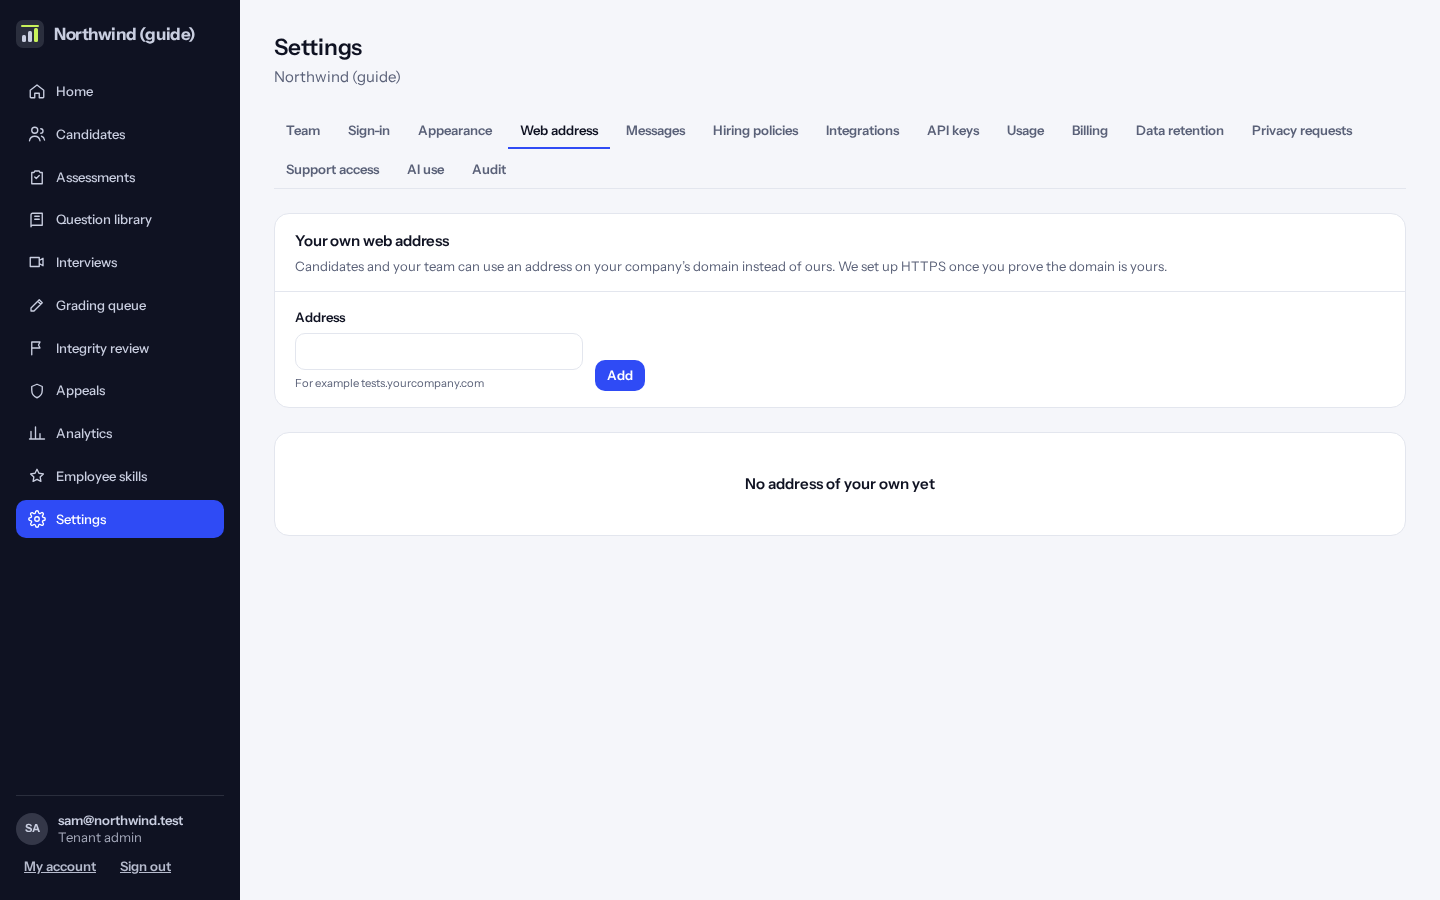
Use an address on your own domain, such as tests.yourcompany.com, instead of ours. Add it here and follow the steps to prove the domain is yours.
With your DNS provider, add the TXT record shown (it proves the domain is yours) and point the address at ours with the CNAME record shown. Then click “Check”. When the record is found, the address goes live at once: candidates open their tests there, and the links in their emails use it. The secure certificate is set up by itself on the first visit.
Tip: DNS changes can take up to an hour to show. If “Check” says the record isn’t found yet, wait a little and check again.
Tip: Removing the address stops it working at once; links go back to the SetBenchmark address.
Hiring policies
“Equality survey for the fairness report” (off at first) offers candidates a short, optional survey after a hiring test, for Analytics → Fairness. Answers are only counted in groups of 30 or more and never shown for one person.
“Blind interviews” hides who candidates are from people with the interviewer role: they see a reference like “Candidate 4F2A”, never a name, email or resume, and can’t search by name. Candidates join interviews by voice only. Recruiters and hiring managers still see everything.
“Anonymous reports” makes printed reports and result emails use that reference instead of the name, so they’re judged on the work.
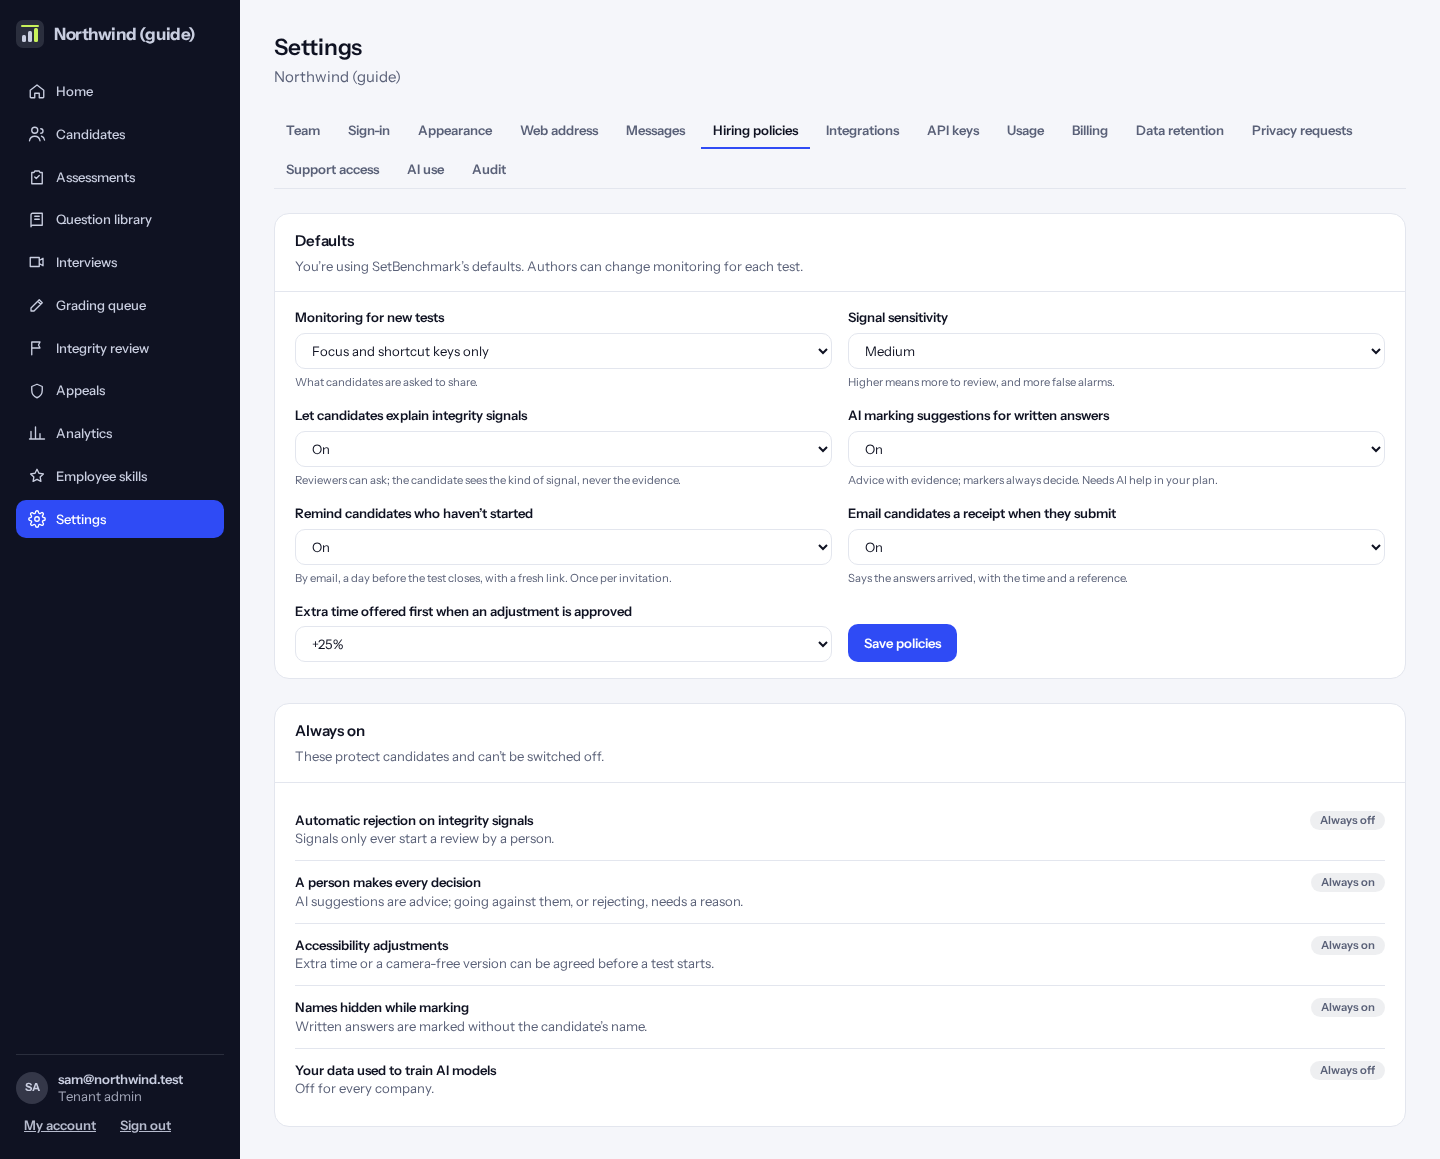
Defaults for the whole company: monitoring for new tests, how sensitive the integrity signals are, whether candidates may explain integrity signals, AI marking suggestions, reminders to candidates who haven’t started (up to 3, a day, 2 days or 3 days apart, with the last the day before the test closes), receipts when they submit, whether candidates may give themselves 48 more hours once (if they haven’t started, from 2 days before the test closes up to a week after), and the extra time offered first when an adjustment is approved.
You can also lock settings for every test. “Monitoring is the same for every test” locks monitoring, so authors can’t change it. Watermark, hidden question titles and hidden points can each be off or on by default (authors choose), or always or never (fixed for every test). You can write a declaration for new tests and, if you like, make every test use it.
Fixed settings change draft tests straight away, and every new or copied test. Published tests keep their settings, because candidates may already have agreed to them. On a test, a fixed setting is greyed out with the note “Set for every test in Settings → Hiring policies”.
Under “Always on” you see the protections that can’t be switched off: no automatic rejection, a person makes every decision, adjustments are available, names are hidden while marking, and your data is never used to train AI models.
Credits: pay per candidate
Under Settings → Billing, “Credits” lets a company pay per candidate instead of (or as well as) a plan. One credit is used when a candidate starts a hiring test. Starting the same test twice uses one credit. Re-tests after an integrity review are free. Employee and bench tests are free up to 4 per person in any 12 months (fair use); a fifth in that time uses a credit when they start it, and the bench page names who that applies to when you send the invitations.
Pick your currency (INR, AED, SAR, AUD or USD), then click “Buy” on a pack. You pay on the payment page and the credits arrive when the payment is confirmed. Tax is added by currency: GST 18% for INR, VAT 5% for AED, VAT 15% for SAR, GST 10% for AUD. Paid orders have an “Invoice” link; put your VAT or tax number (TRN in the UAE) in Billing details to show it there.
Credits last 12 months and the oldest are used first. Admins get an email at 20% and 5% of the last top-up. If credits run out, a candidate who tries to start is told the test is temporarily unavailable and admins are emailed. “History” shows every change.
A company on a paid plan doesn’t need credits: its tests keep starting as before, even with credits in the wallet.
How to do it:
- Click “Settings”, then “Billing”.
- Under “Credits”, pick a currency.
- Click “Buy” on a pack and pay.
Coupons on credit packs and automatic refunds
If you have a coupon, type it in the box next to a pack before clicking “Buy”. The percentage comes off the pack before tax, and the invoice shows the coupon.
If a credit is taken but the test never begins because of a failure on our side, the credit comes back by itself after 15 minutes, and the ledger says why. For anything else, such as a test that failed part way through, use “Give back” on the ledger.
Languages, quiet hours and dropped connections
Click “Settings”, then “Languages & connection”. Tick Arabic or Hindi and candidates get a language choice on their home page. Arabic reads right to left, and code stays left to right. These cover the main candidate screens, not your own questions, which stay as you write them.
Quiet hours stop reminders overnight in your time zone (9 pm to 8 am unless you change them). They go out when quiet hours end. A candidate gets up to 3 reminders.
Pauses give time back when a candidate’s connection drops: up to 3 per test of up to 5 minutes each, unless you change it. 0 turns them off.
Tip: All data is kept in India today. Other regions need new cloud regions, which Kombee must approve.
Tip: On a poor connection, monitoring events and snapshots wait in the browser and are sent again when the connection comes back, so evidence is delayed rather than lost. They wait only while the test page stays open.
Candidate reports (skill reports for candidates)
Click “Settings”, then “Candidate reports”. After a hiring test, each candidate gets a skill report on their assessments page, and an email when it is ready. It shows their overall level, their level in each skill with one line on how it went, their strongest skill and the one to work on, up to 4 free learning resources for skills under 80%, and when they may retake the test or ask to. It never shows the questions, their answers or your decision.
“When candidates see it”: as soon as the test is marked (the default), or only after a person decides on the application. A report also waits while a person is still marking written answers, and isn’t shown while an integrity concern is recorded: the candidate sees a neutral note and a link to ask for a review.
You choose whether to show percentages (off: level names only, like “Advanced”), how they compare (“Top 25%”, once at least 5 others have taken the test), the line of feedback per skill, and the free learning. The feedback is written from scores and kinds of question only; any line sharing 8 words in a row with a question is left out.
“Days before a retake” (14 at first; 0 says nothing about retakes): if the test allows retakes, candidates start one themselves after this wait, and it uses a credit; if not, the report says they can ask you. “How long each stage should take” sets the date candidates see as “we aim to update you by” for assessment, marking, interview and decision.
Under “Learning you suggest”, add your own free learning for a skill: a title, an https address and, if you know it, the minutes it takes. Yours come first. SetBenchmark adds well-known free resources when a skill’s name matches, for example MDN for JavaScript, the Python tutorial, SQLBolt for SQL or A Tour of Go.
How to do it:
- Click “Settings”, then “Candidate reports”.
- Choose what candidates see and when, and click “Save report settings”.
- To suggest learning, choose the skill, type a title and address, and click “Add learning”.
Privacy requests
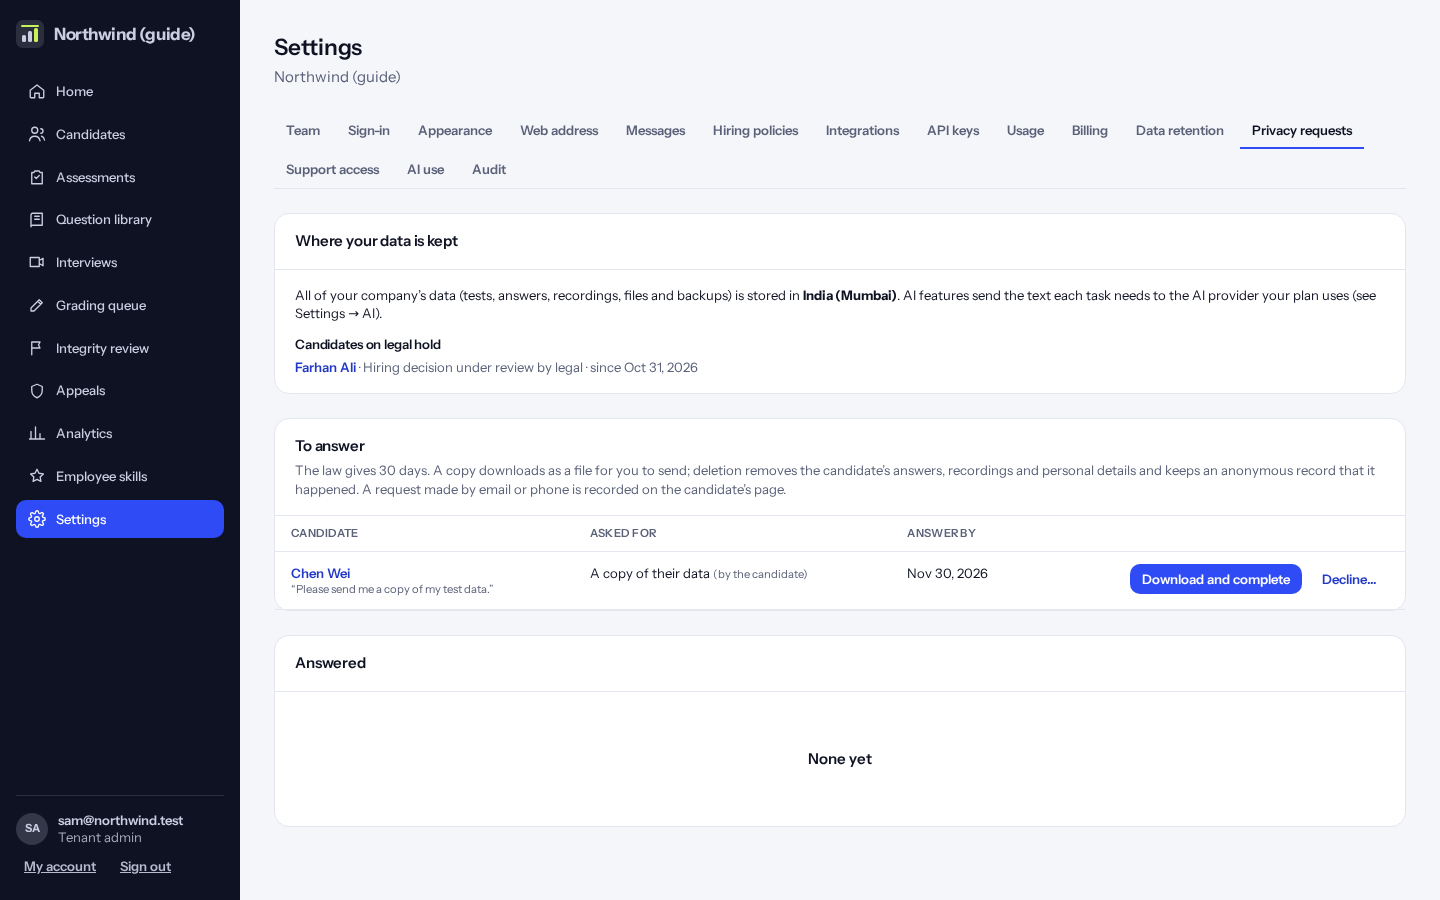
Where your data is kept, candidates on legal hold, and candidates’ requests for a copy of their data or its deletion. The law gives 30 days; overdue requests are marked.
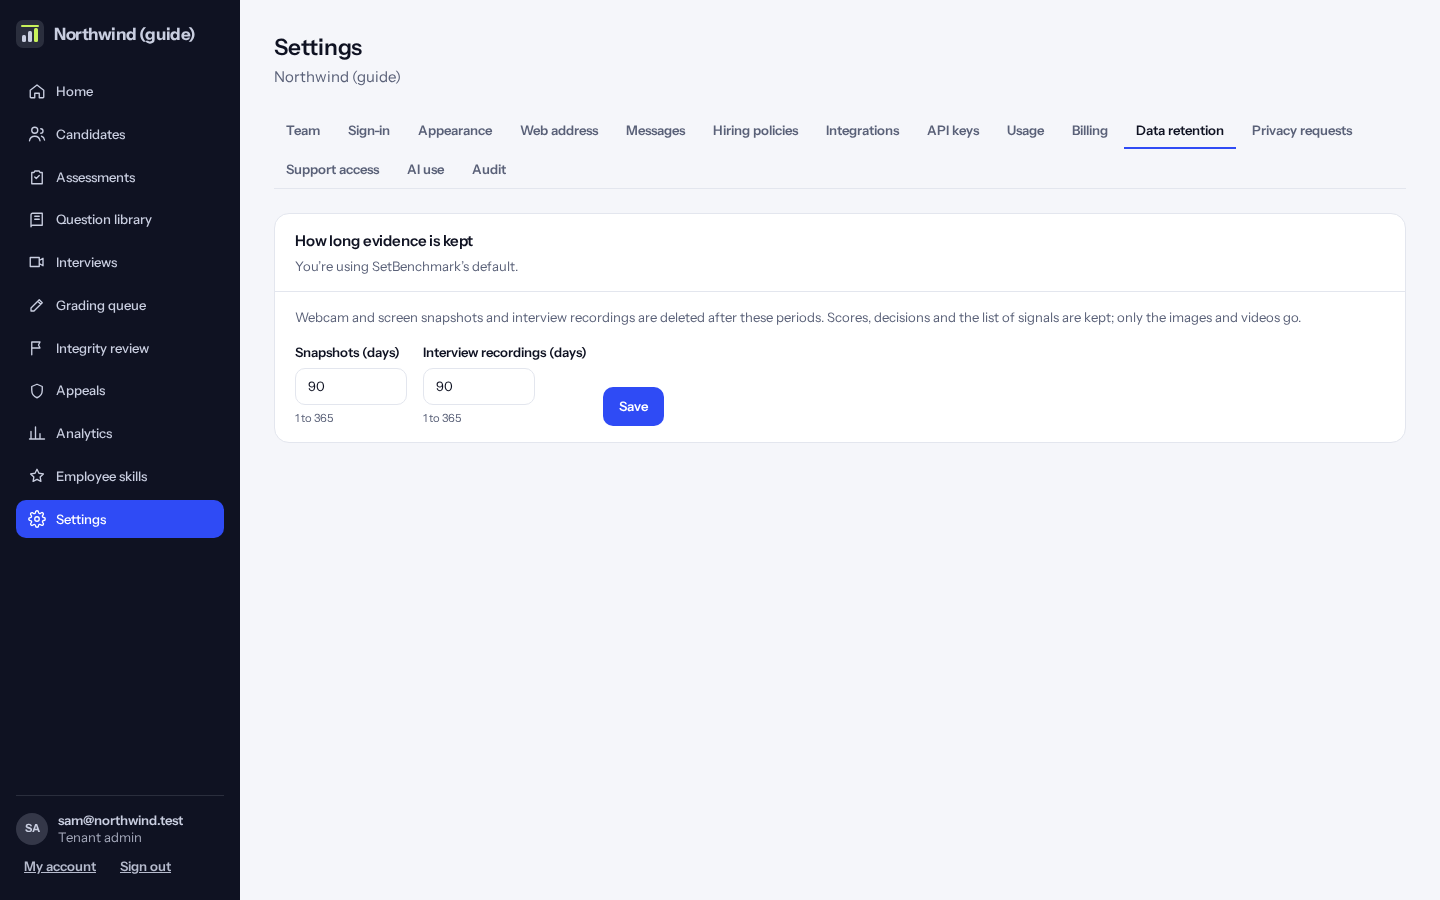
Data retention
How long camera pictures, recordings and scores are kept. After that they are deleted automatically, except for candidates on legal hold.
Support access
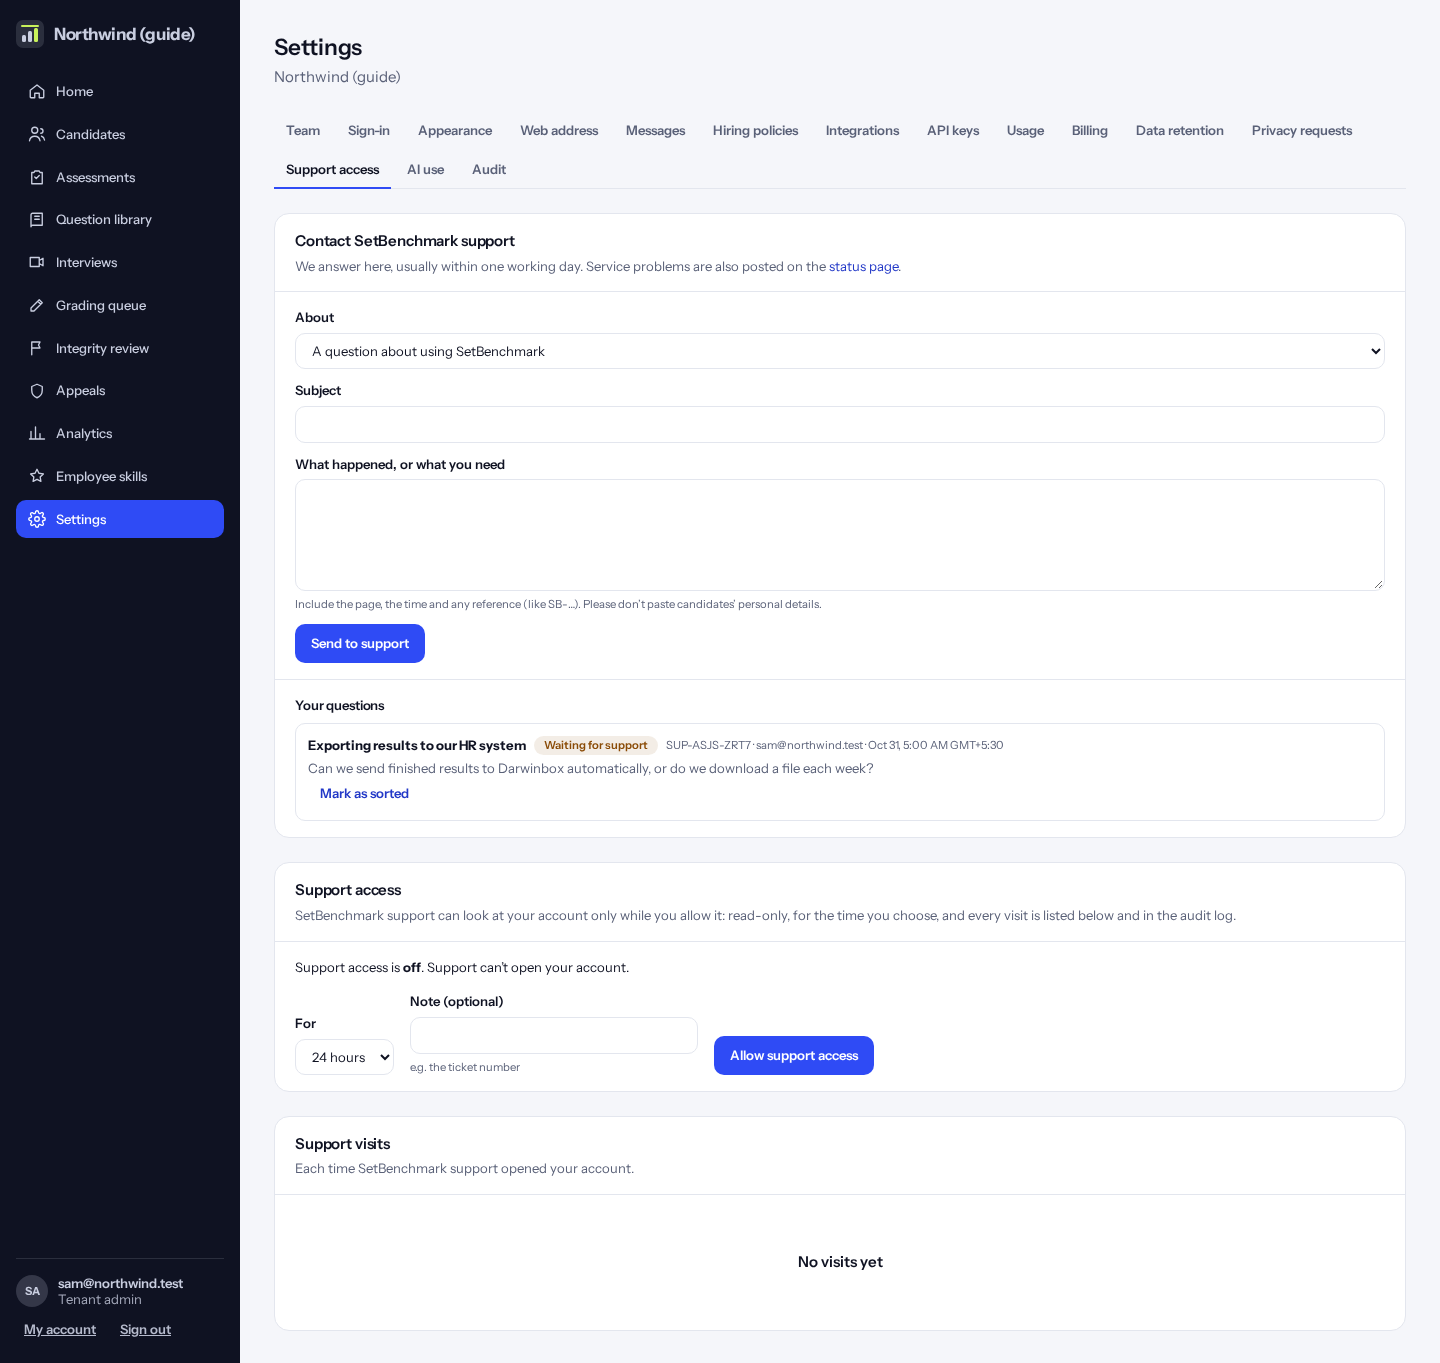
Ask SetBenchmark support a question; the answer appears here. You also choose whether, and for how long, support may look at your account (read-only). Every visit is listed.
Tip: The status page (/status) shows whether everything is working and any planned maintenance.
Integrations
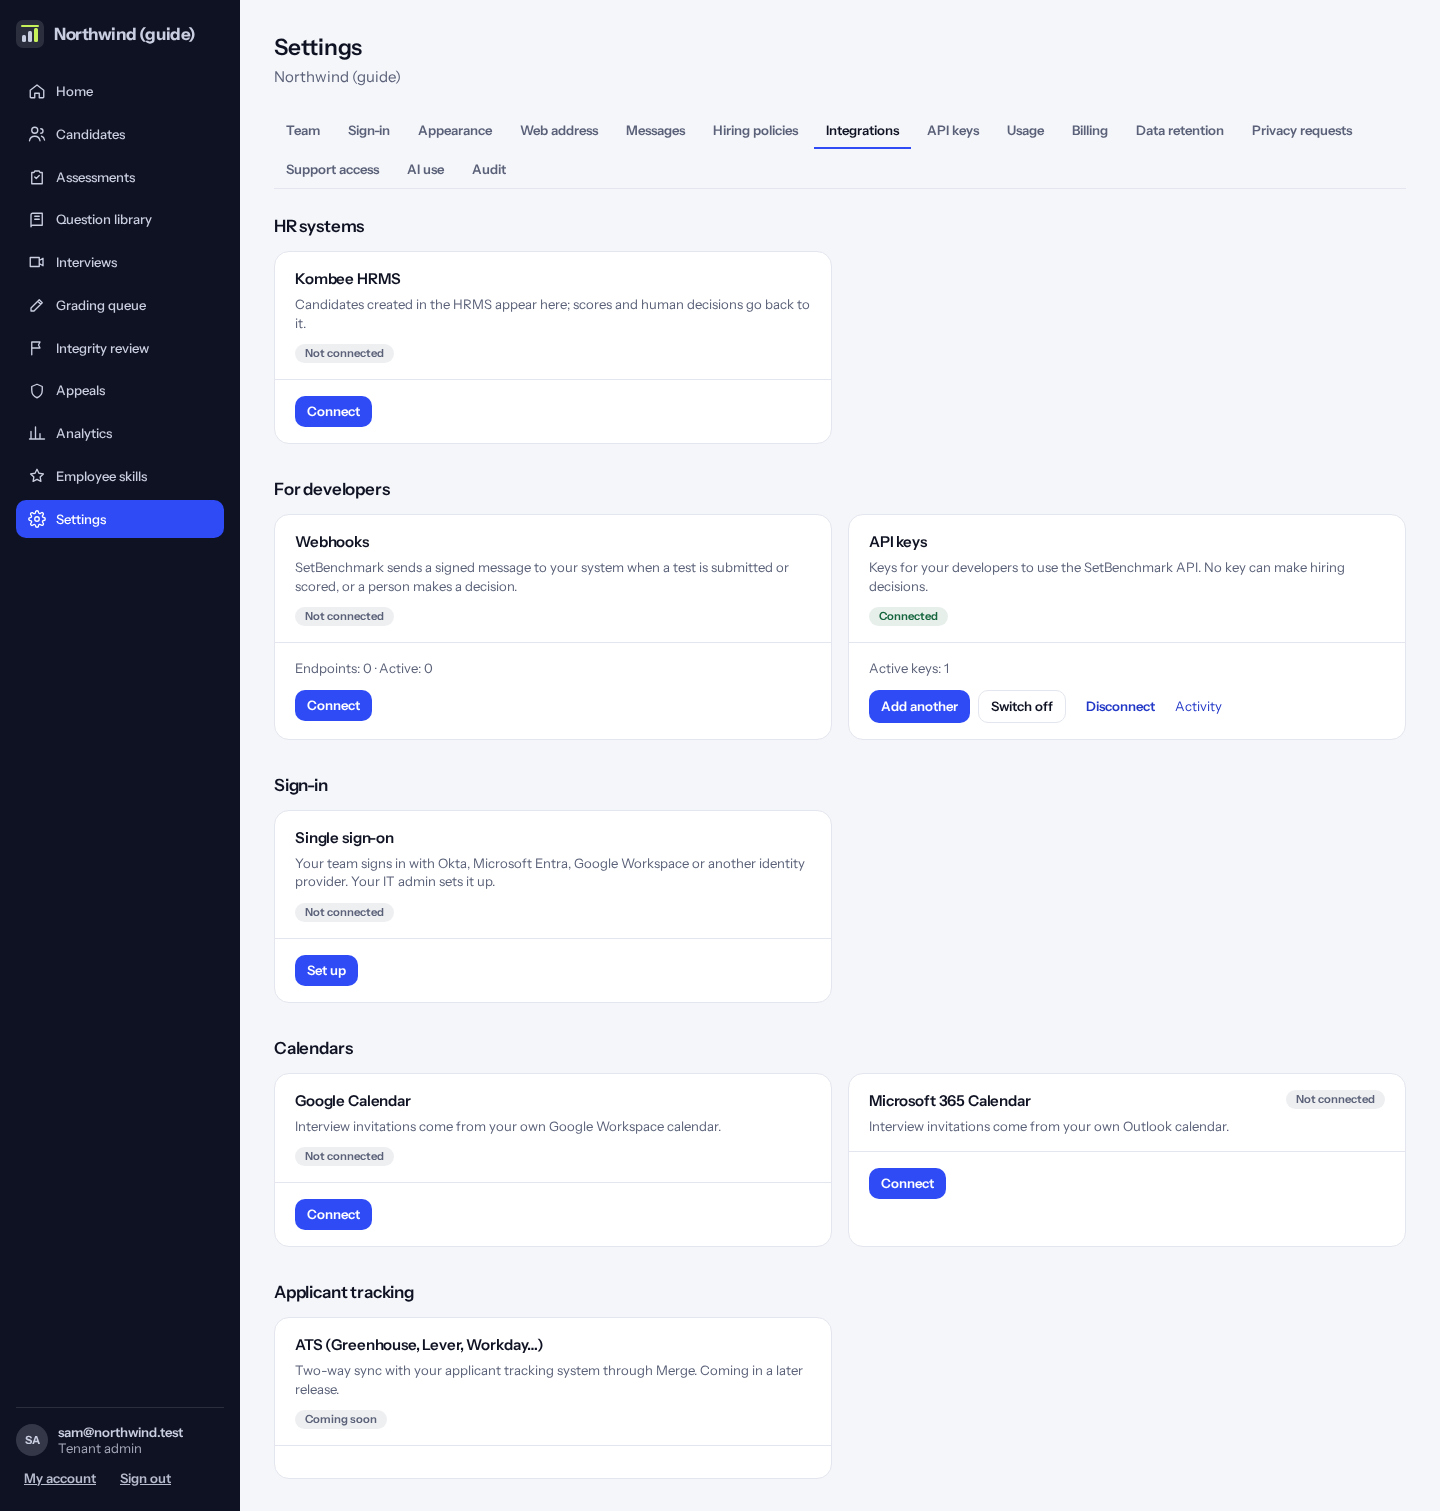
Connect your HR system, calendars and other tools. For webhooks, open their activity to see what was sent to each address in the last 30 days, and switch an address on or off.
Calendar invites for interviews: click “Connect” on Google Workspace Calendar or Microsoft 365 Calendar and sign in with the account interviews should come from (for example a shared hiring account). After that, scheduling an interview sends each interviewer and the candidate a calendar invitation from that account, and moving or cancelling the interview updates it. “Test” checks the connection still works.
Tip: Without a connected calendar, people still get the interview email with a calendar file to add it themselves.
API keys
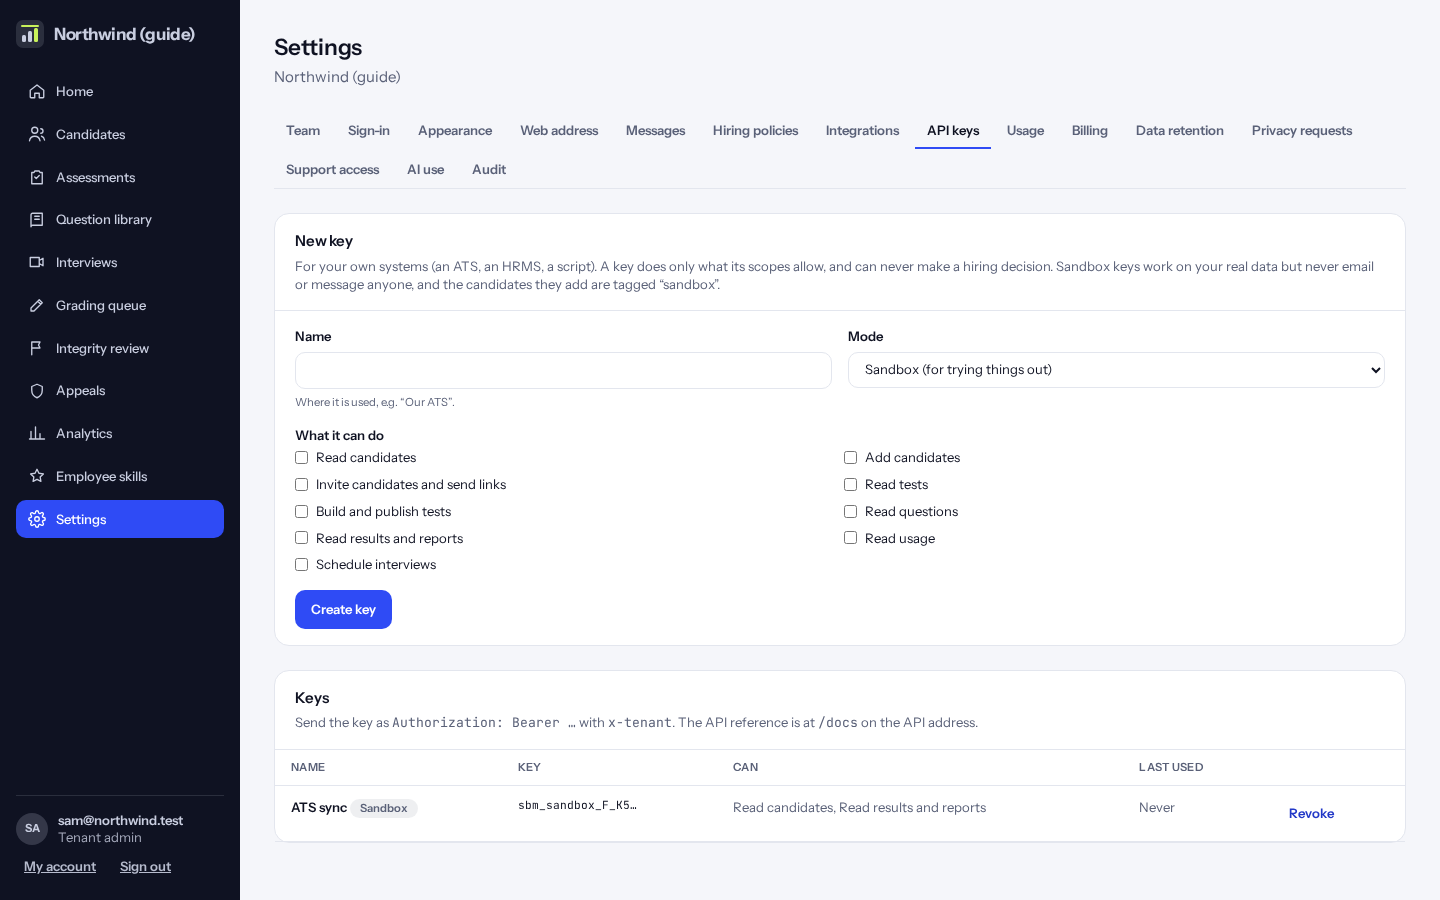
Keys for your own systems to use SetBenchmark’s API. A sandbox key works in a separate, empty test company made just for it. It can’t see or change your real data, uses no credits, and never emails or messages anyone. Anything it adds stays in the test company and doesn’t appear on your screens.
The key is shown once, when it is made. Revoking a key asks you to confirm, and takes it off the screen.
Usage
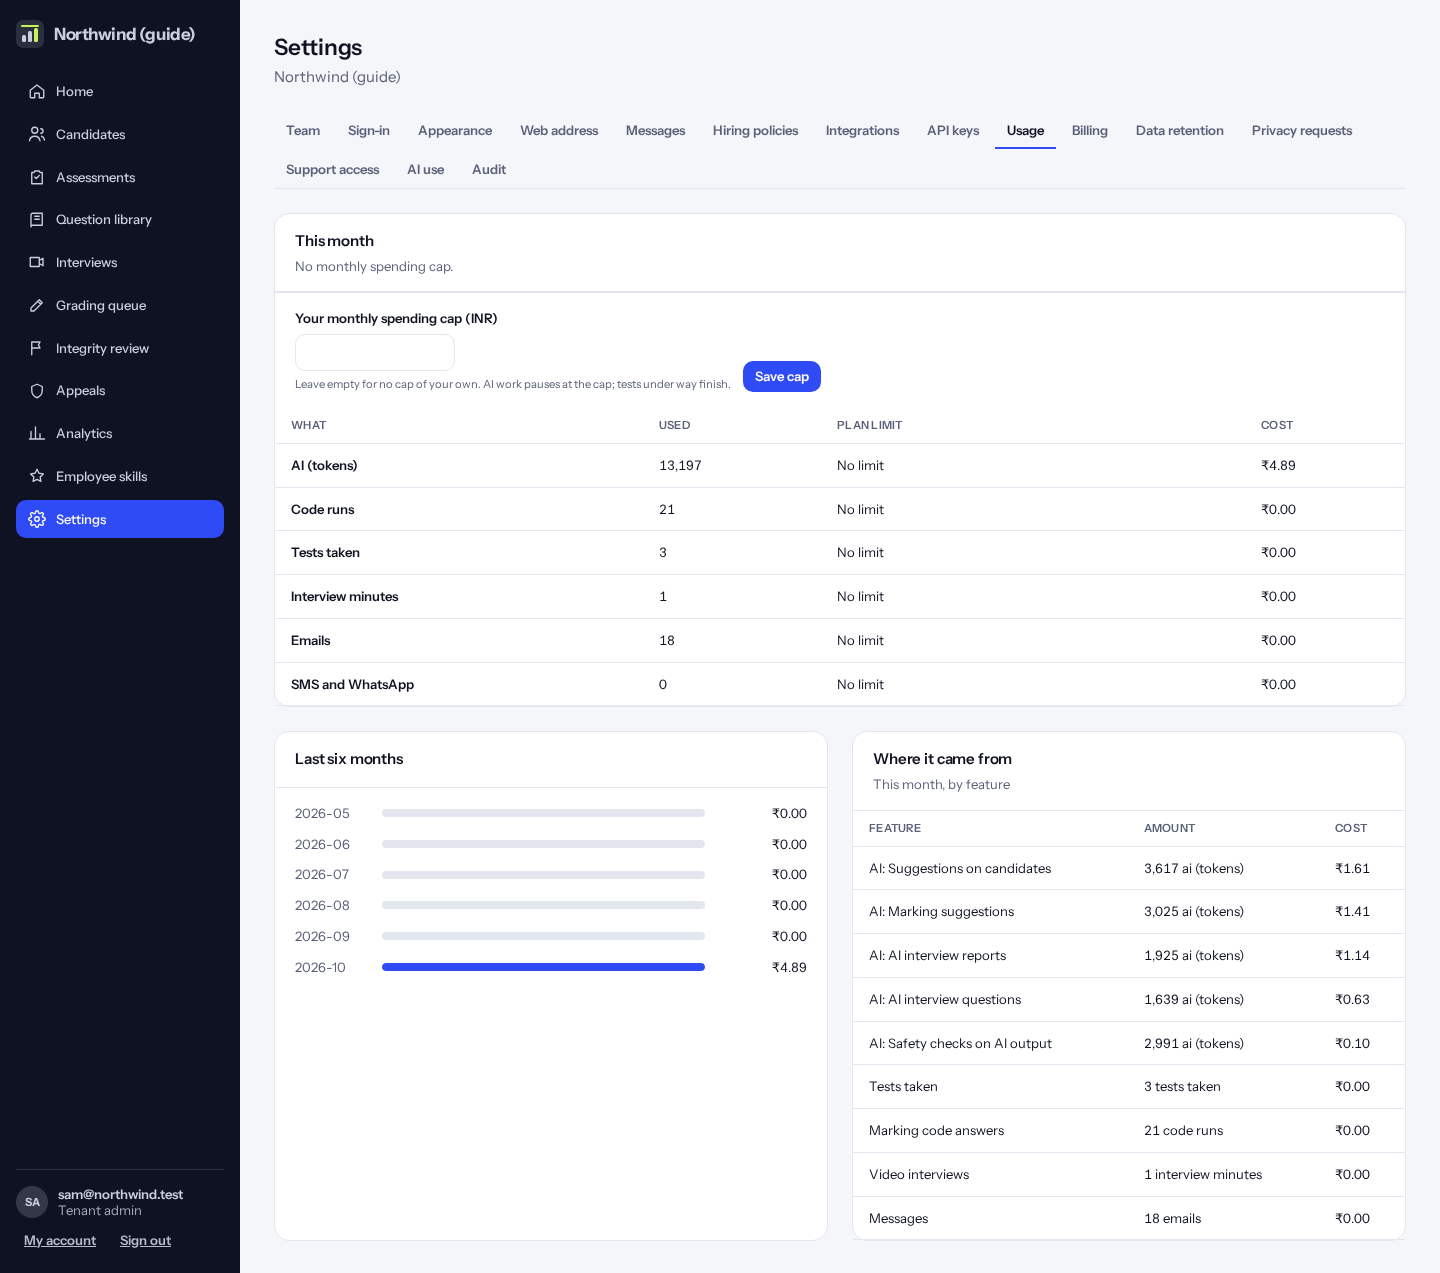
What your company used this month (AI, code runs, tests, interview minutes, emails) against your plan, the last six months, and which features it came from.
Set a monthly spending cap if you like: AI work pauses at the cap, and tests already under way still finish.
Billing
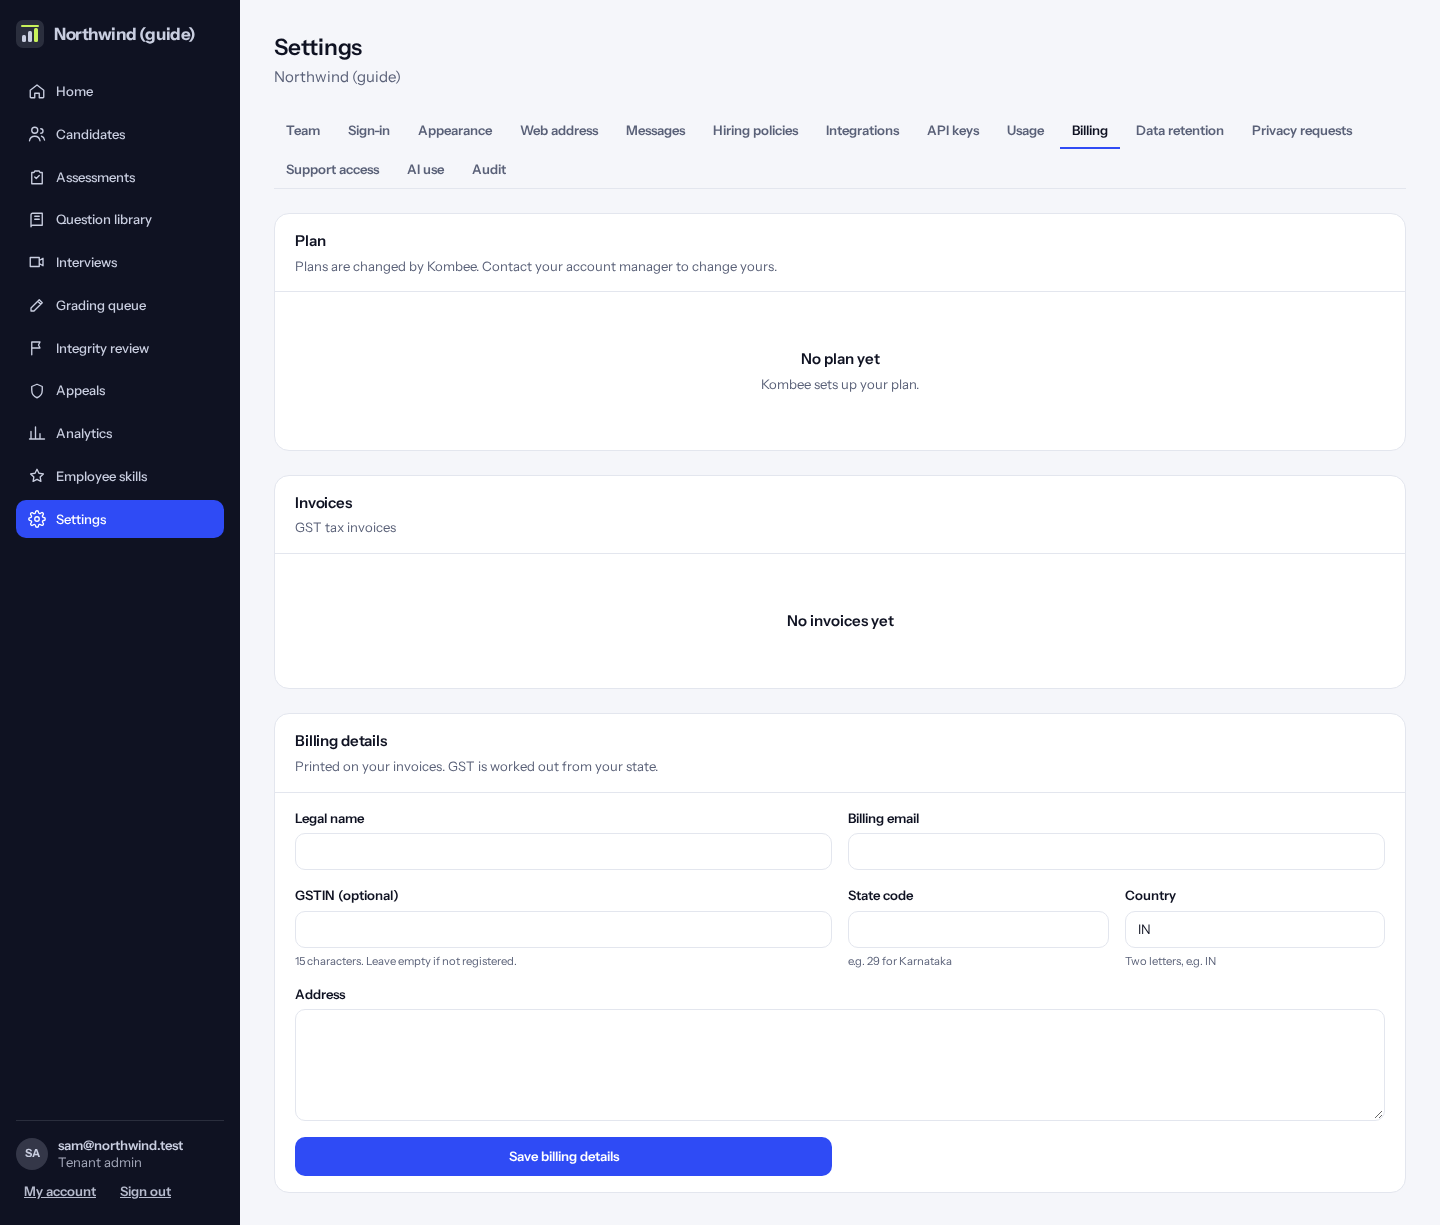
Your plan, every plan you can switch to, your invoices and the details printed on them. Each plan card shows its price, what it includes and how much of each thing you get a month (for example 100 tests taken, then ₹60 for each extra one).
To change plan, a company admin clicks “Choose” on a plan card. A free plan starts straight away. For a paid plan you go to Razorpay’s own page to pay by card, UPI or net banking. The plan starts as soon as Razorpay confirms the payment; until then you keep what you have, and the page says it is waiting for your payment, with a “Pay on Razorpay” button. Have a coupon? Open “Have a coupon?” on the card before choosing.
Moving from one paid plan to another keeps the card on file: the new plan starts at once and only the difference for the rest of the month is charged. Moving down to the free plan, or “Cancel plan”, keeps your paid plan working until the end of the month you paid for; then you move to the free plan. Changed your mind? “Keep my plan”.
Tip: Only company admins can change the plan. Others see the plans and the current one.
Tip: A payment that fails on renewal shows “Payment failed”: Razorpay tries again, so check the card with your bank.
Tip: Left the Razorpay page without paying? Use “Pay on Razorpay” again, choose another plan, or “Don’t pay now”. Nothing is charged until you pay.
Audit log
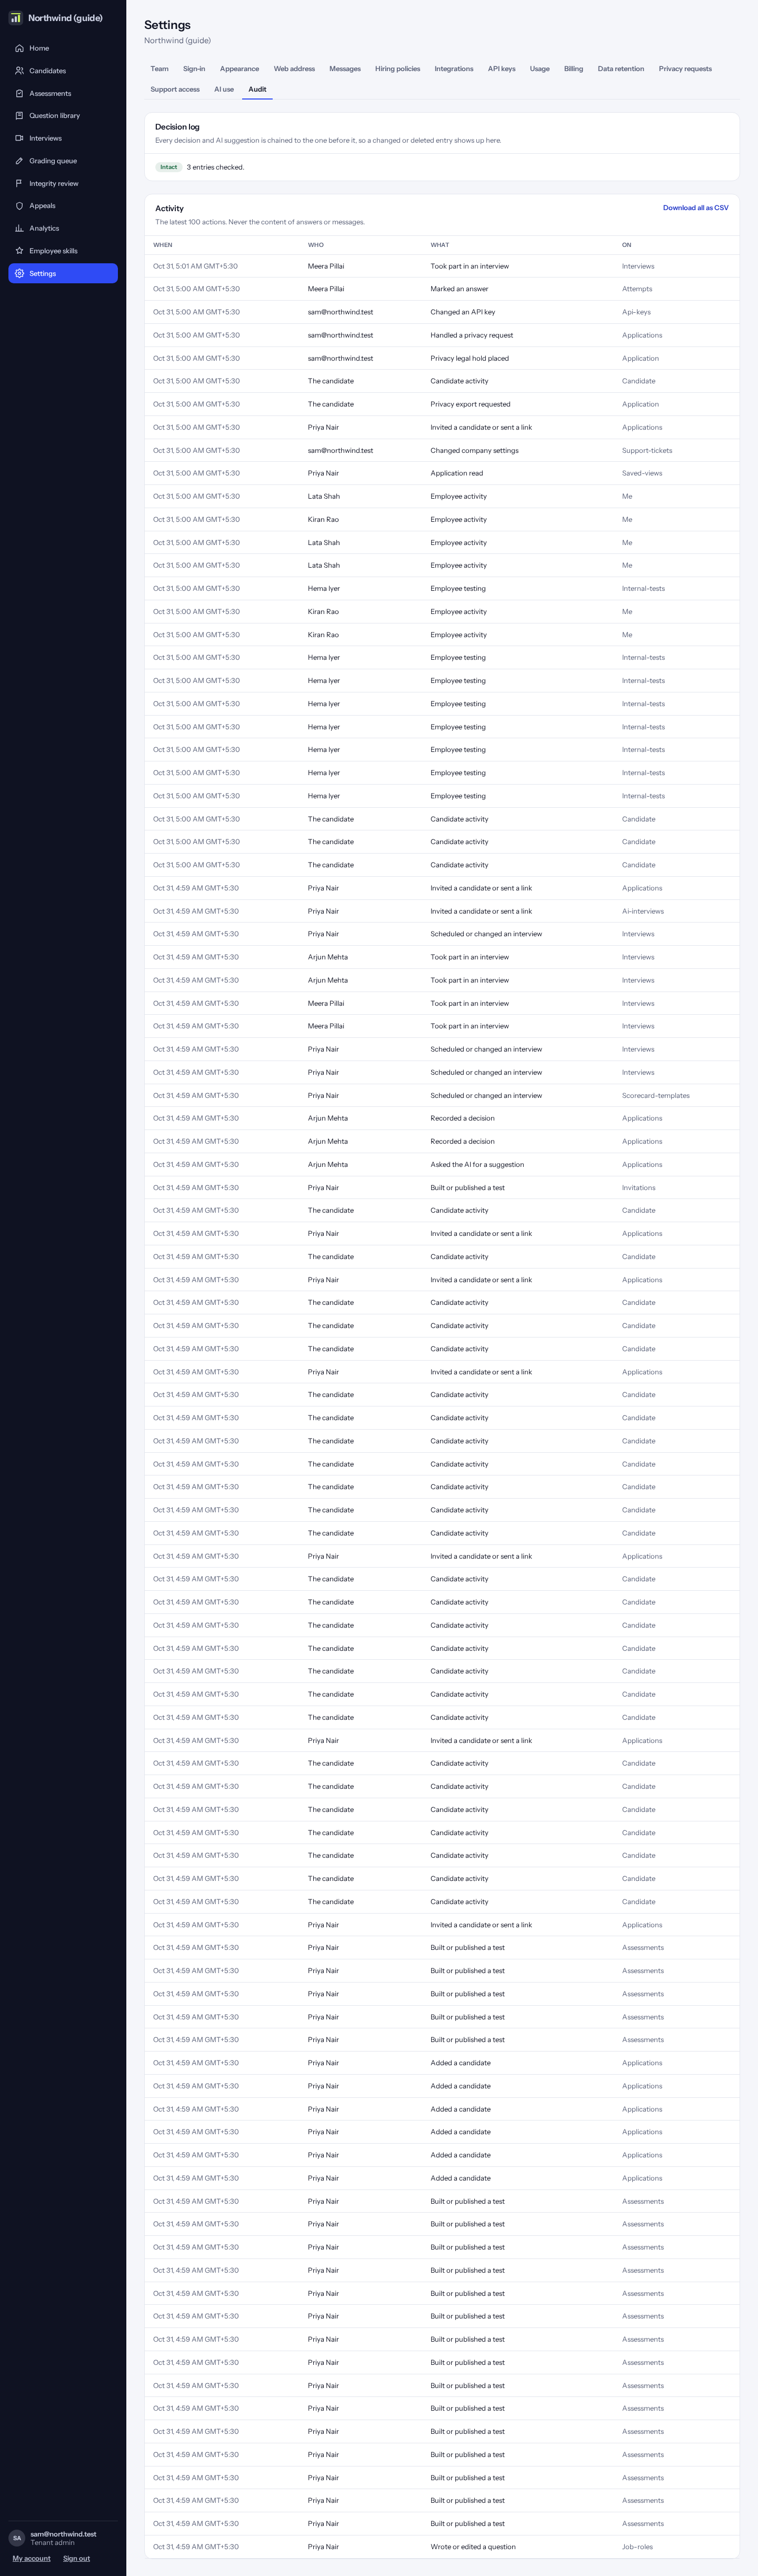
Who did what, and when. For checking and for audits.
AI use
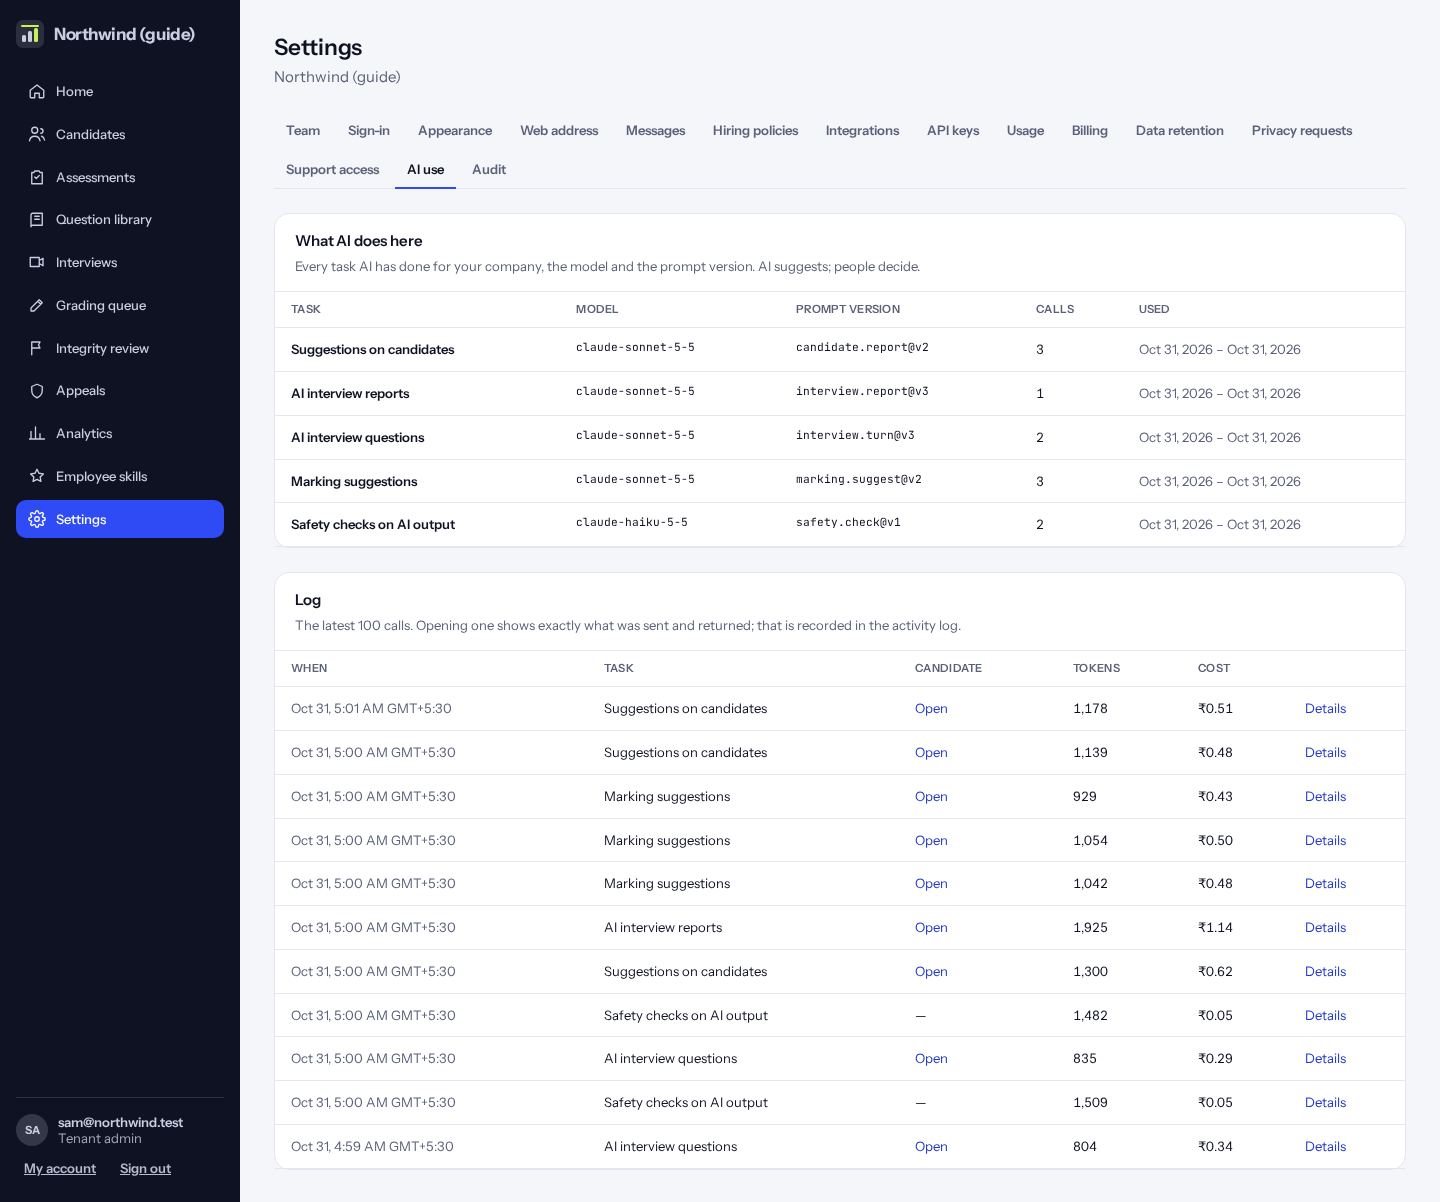
Every kind of task the AI has done for your company, with the model used. Below, a log of the latest AI calls: click “Details” to see exactly what was sent and returned.
Tip: The AI only suggests. People make every decision.
Results in Greenhouse or Lever
Click “Settings”, then “Integrations”, and scroll to “Results in your ATS”. Paste the API key and click “Connect”. Greenhouse also needs the id of the user notes are written as.
When a result is complete, the score, each skill and a report link are added as a note on the candidate, once. Integrity status is left out unless you tick “Include integrity status” on that connection. This works for candidates who came from that ATS, with its id as their external reference. If a send fails, the card shows the problem.
Tip: This hasn’t been tried with a live Greenhouse or Lever account yet.